
Last updated October 31, 2026
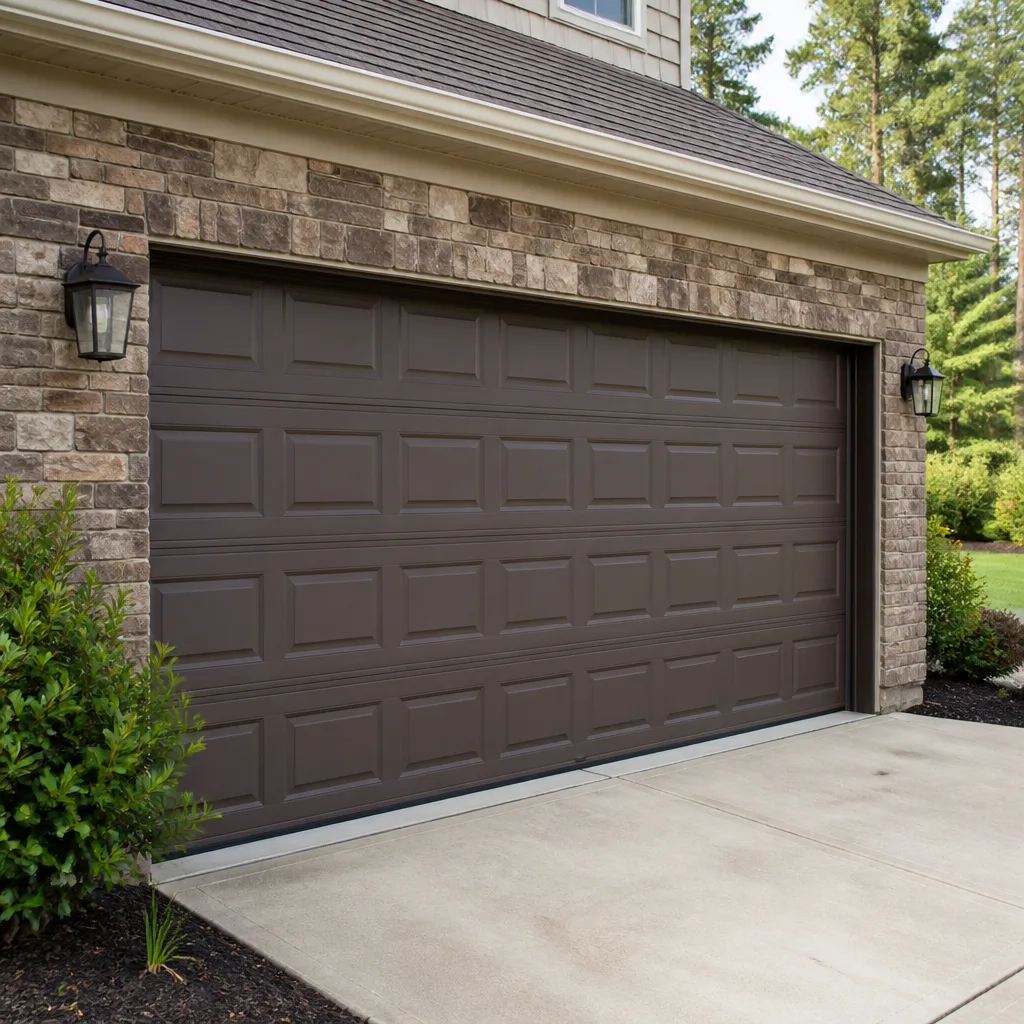 Raised-panel steel
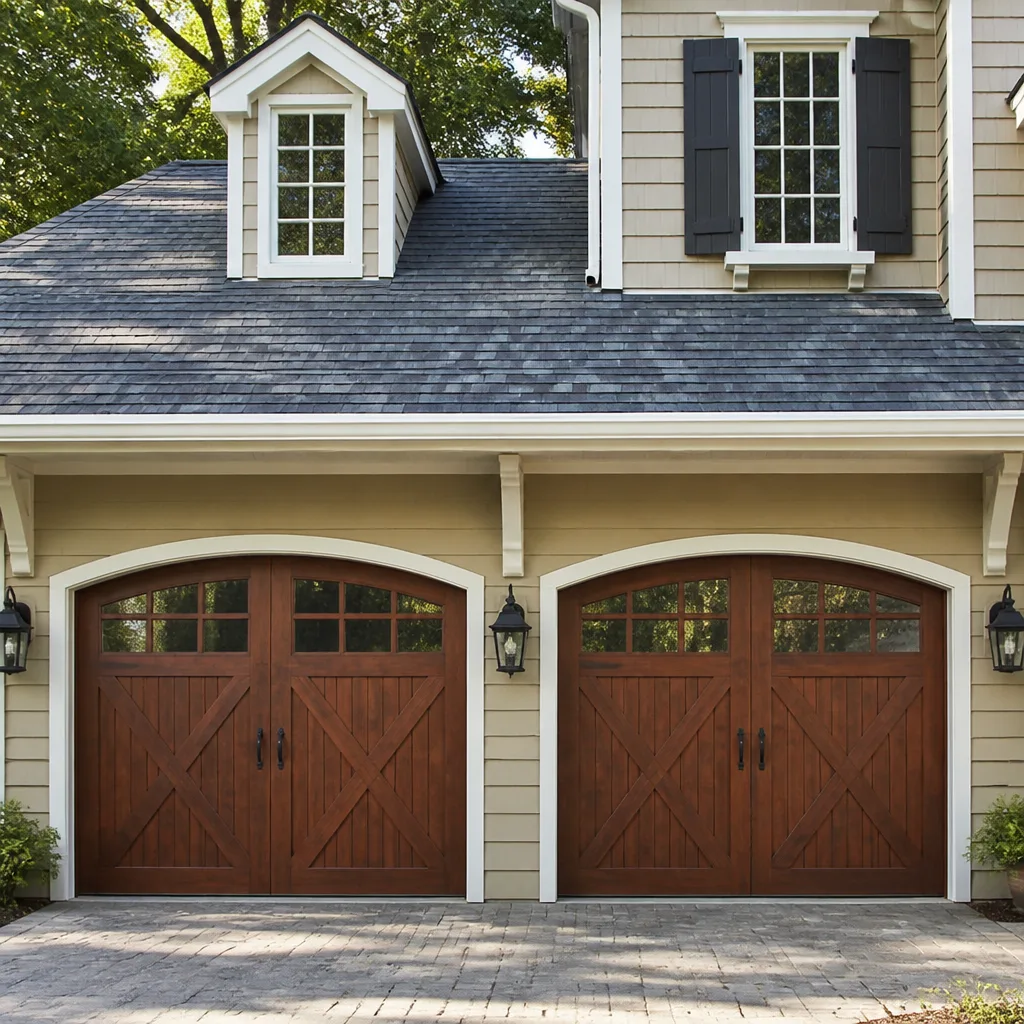 Carriage house
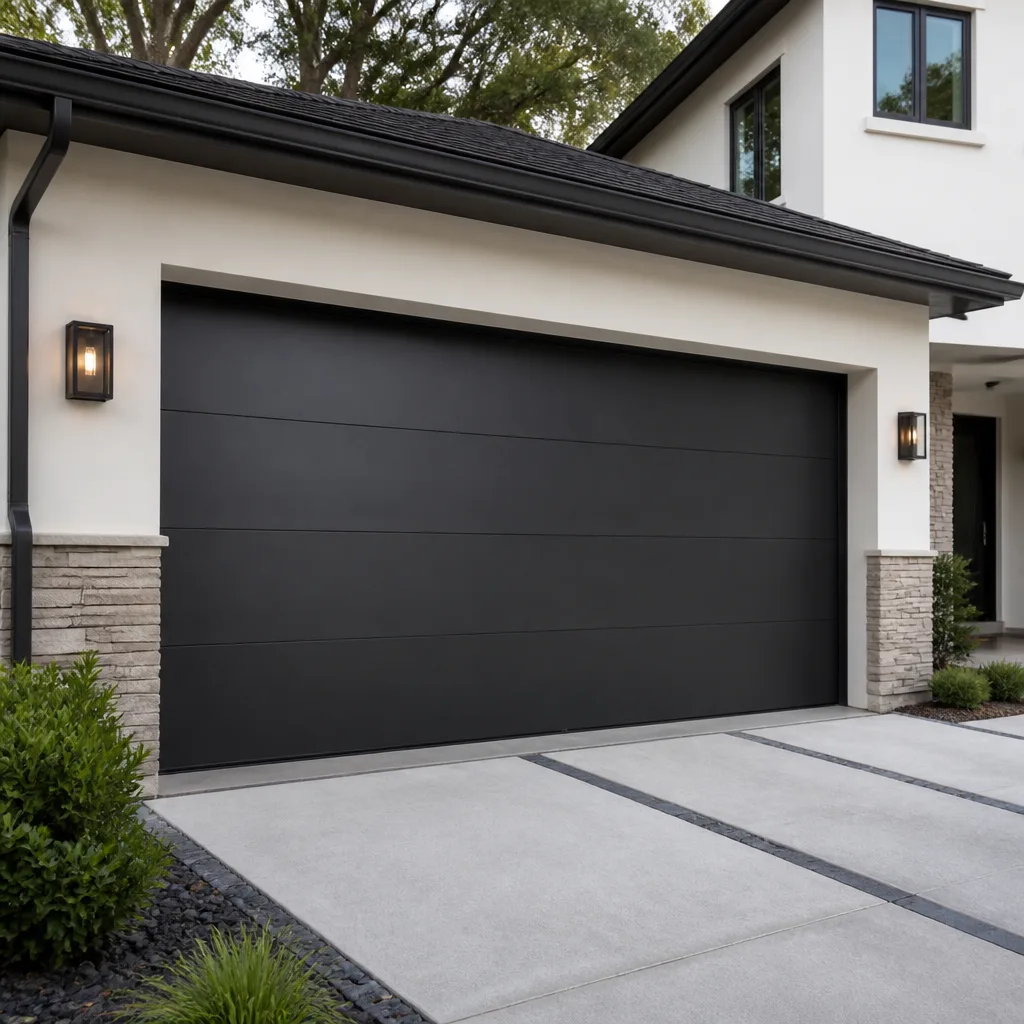 Modern flush
 Full-view glass
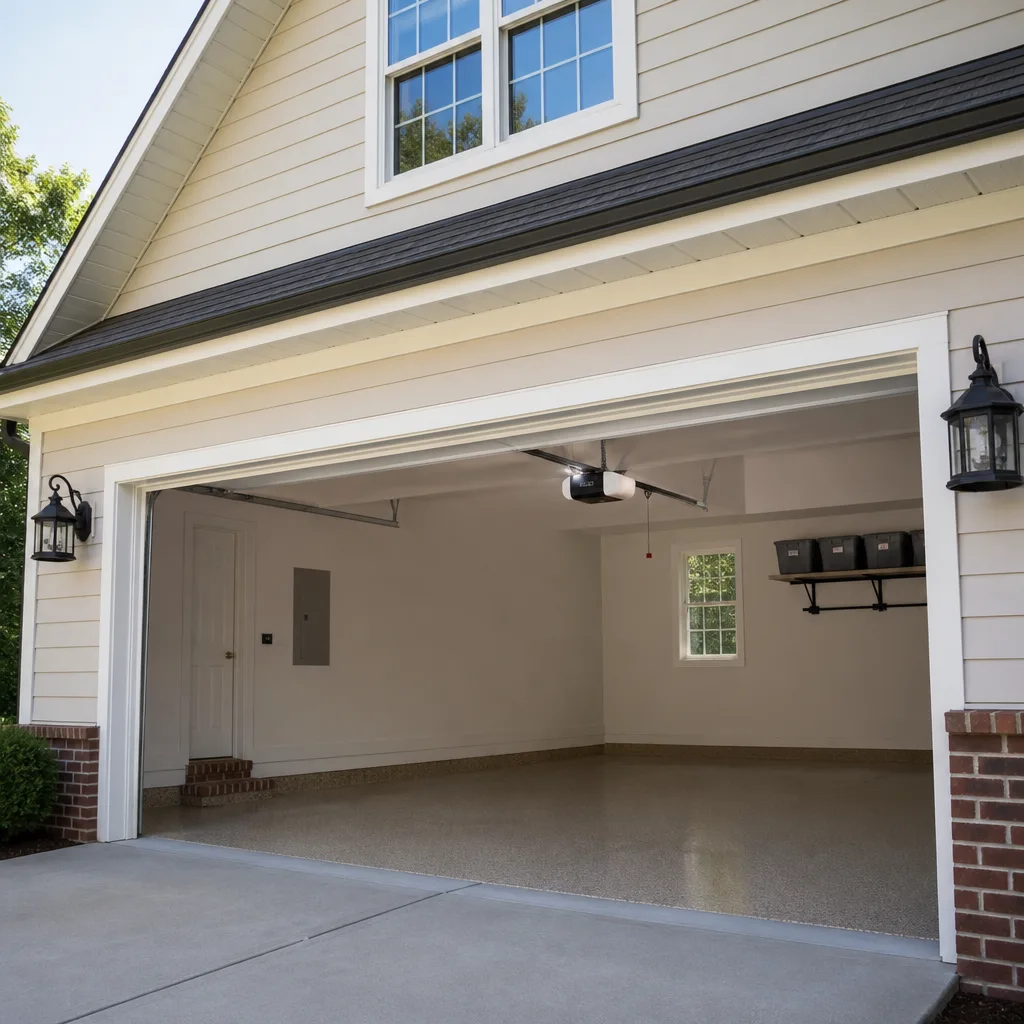 LiftMaster openers
 Chamberlain openers
Full 25-point door and opener safety check with every visit - springs, cables, rollers, tracks, and your LiftMaster or Chamberlain opener included
You get a price before we start. It does not change when the truck arrives.
Get your free estimateGarage Door Repair Troubleshooting: Common Problems and How to Fix Them
A garage door that reverses before hitting the ground is one of six different problems. Most homeowners, and plenty of general handymen, reset the travel limit and call it fixed. The door works for a week, maybe two, then the same failure comes back because the actual cause, a worn gear inside the opener or a spring that’s lost tension, was never addressed. This guide—along with our Garage Door Warning Signs: A Murrieta Homeowner’s Reference Guide—walks through the mechanical cause-and-effect method we use on service calls across Murrieta every week. You’ll learn how to trace a symptom back to the failed component, not just silence the symptom.
Styles & brands we work with
Quick Answer
Our Garage Door Repair services focus on identifying the failed component by its symptom, not guessing. A grinding noise points to the opener’s drive gear, a door that reverses points to misaligned photo eyes or a worn travel module, and a door that won’t lift points to a broken spring. Use the manual-release test first: if the door is hard to lift by hand, the problem is mechanical (springs, rollers, tracks). If it lifts easily by hand, the problem is in the opener.
Table of Contents
- Symptom Index: What Your Garage Door Is Telling You
- The Manual-Release Test: Separating Opener Problems from Door Problems
- Why the Same Symptom Has Different Causes at Day vs. Night
- Every Noise a Garage Door Makes and What It Means
- The 10-Minute Visual Inspection Sequence
- The Three Misdiagnoses That Generate Unnecessary Service Calls
- Opener Problem, Spring Problem, or Track Problem: How to Tell
- Brand-Specific Quirks: Why a Wayne Dalton Door Acts Differently Than a Raynor
Symptom Index: What Your Garage Door Is Telling You
Every symptom a garage door produces maps to a specific mechanical failure. The trick is knowing which mapping is correct, because two different failures can look identical from the outside. Here’s the index we use to diagnose doors in Murrieta, where heat and occasional Santa Ana winds put specific stress patterns on hardware that coastal climates don’t see.
Door opens fine but won’t close
Three causes, three different fixes. The photo eyes at the bottom of the track are misaligned or blocked. The close-force limit needs adjustment, which means the opener thinks it’s hitting something. Or the logic board inside the opener has a failed relay. The first two are homeowner-checkable. The third requires a new board.
Door closes fine but won’t open
This is almost always a broken torsion spring. When the spring above the door snaps, the opener motor strains against dead weight and either strips its gear or trips its internal overload. If you hear the motor hum but the door doesn’t move, the spring is the prime suspect.
Door reverses after touching the ground
The door thinks it hit an obstruction. It’s either the close-force setting being too low, a track obstruction near the bottom, or a worn travel module that’s lost its calibration. The travel module failure is the one that comes back after a reset, because the module drifts again within days.
Door opens a few inches then stops
The opener’s force sensor is tripping. This means the door is heavier than the opener expects, which points to a spring that’s lost tension but hasn’t snapped yet. It could also be a roller that’s seized in its track, creating drag that mimics extra weight.
Door jerks or shudders while moving
A jerking motion is a track alignment issue or a broken spring on one side only. When one spring fails and the other holds, the door lifts unevenly, and the opener compensates by lurching. Left alone, the second spring fails within weeks.
Opener light blinks and door won’t move
The blinking light is a diagnostic code, not a random flash. On LiftMaster and Chamberlain openers, the number of blinks maps to a specific fault: one blink is a sensor wire issue, two blinks is a shorted wire at the wall button, five blinks is a failed motor RPM sensor. We’ll cover error codes later in this guide.
The Manual-Release Test: Separating Opener Problems from Door Problems
Before touching anything else, pull the red emergency release cord hanging from the opener rail. This disconnects the door from the opener carriage. Now lift the door by hand.
If the door is heavy, won’t stay up, or drops when you let go, the problem is mechanical: springs, cables, or rollers. The opener is innocent. Replacing the opener won’t help.
If the door lifts smoothly by hand and stays in place, the problem is in the opener: its drive gear, logic board, or travel module. Fixing the springs won’t help.
This single test cuts diagnostic time in half and prevents the most common error in this trade: replacing an opener when the spring was the failure all along. We walk every Murrieta customer through this test on the phone before scheduling, because it often changes which technician we send and what parts go on the truck. For more on choosing qualified help, see our How to Hire a Garage Door Contractor in Murrieta: A Step-by-Step Guide.
Why the Same Symptom Has Different Causes at Day vs. Night
A door that won’t close during the day but closes fine at night is not an intermittent mystery. It’s a photo-eye alignment issue triggered by sunlight. The sun hits the receiving eye at a specific angle in the afternoon, overwhelming its sensor and making it think something is in the beam’s path. At night, no sun, no problem. The fix is a sun shield over the eye or a slight repositioning of the sensor.
A door that won’t close at night but works during the day is typically a limit-switch issue tied to temperature. Metal tracks contract in the cold, and if the down-limit was set during warm weather, the door now stops a centimeter short of full closure. The opener’s force sensor reads that as an obstruction and reverses. The fix is a travel-limit adjustment, but only after confirming the tracks are clean and lubricated.
This day-versus-night pattern is specific enough that we can often diagnose a Murrieta door over the phone based on when the problem happens. It also explains why a handyman’s “reset the limit and see if it works” fix fails: the temperature shifts again, and the same failure returns.
Every Noise a Garage Door Makes and What It Means
Garage doors speak in a small vocabulary of noises, and each one maps to a specific component. Here’s the complete translation, in order of how often we encounter them on service calls.
- Grinding or gear-stripping sound from the opener head: The plastic drive gear inside the opener has stripped. Common on older Craftsman and Genie screw-drive and chain-drive units after 8 to 12 years of service. The motor runs, the gear spins on its shaft, and the door doesn’t move. Replacing the gear is a $200-$350 repair, not a full opener replacement.
- Popping or snapping when the door moves: A torsion spring is binding against its center bracket, or a cable is winding unevenly on its drum. This is a warning sign that precedes a spring failure by weeks. It needs immediate attention, not a wait-and-see approach.
- Squealing or high-pitched squeaking: Dry rollers running on dry tracks. The fix is targeted lubrication only: a few drops of lithium grease on the roller bearings and a light coat on the track. Avoid lubricating the track itself heavily, it attracts dust and creates drag.
- Rumbling or rattling while the door moves: Loose hardware. The bolts holding the track brackets to the wall, the hinges connecting panel to panel, or the opener’s mounting bolts have worked loose over years of vibration. Retrofit torque them down and the noise stops.
- Thumping or banging at the top of the opening cycle: The door is hitting the header because the up-limit is set too high, or a broken spring has changed the door’s balance. If the manual-release test shows a balanced door, adjust the limit. If the door is heavy by hand, the argument is over: replace the spring.
In Murrieta’s dry, dusty environment, the most common noise we hear is the squealing roller, because dust infiltrates the bearing and acts as an abrasive rather than a lubricant. It’s a 20-minute fix that prevents a seized roller and a much larger repair later.
The 10-Minute Visual Inspection Sequence
Before calling a technician, here’s the exact sequence we’d walk you through if we were standing in your garage. Each step takes a minute and rules out or confirms a major cause. Start with the door closed.
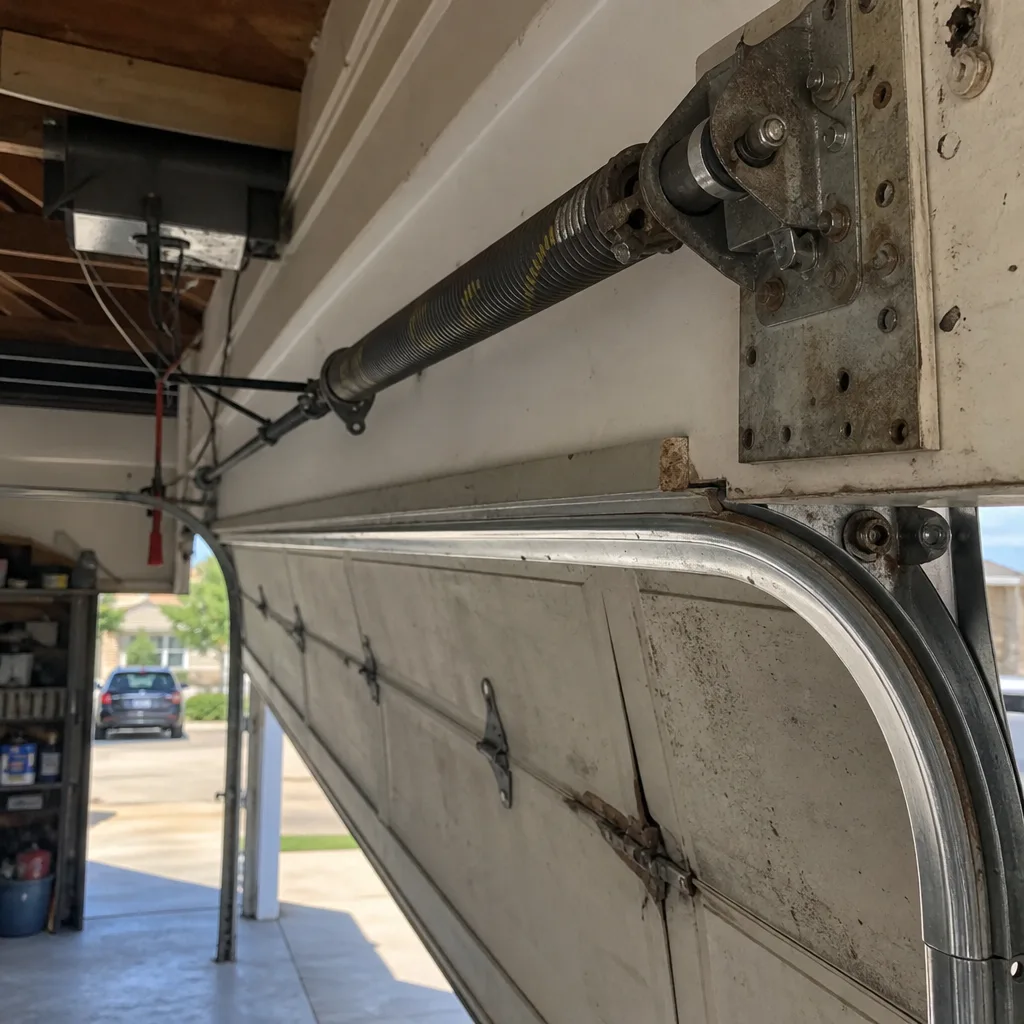
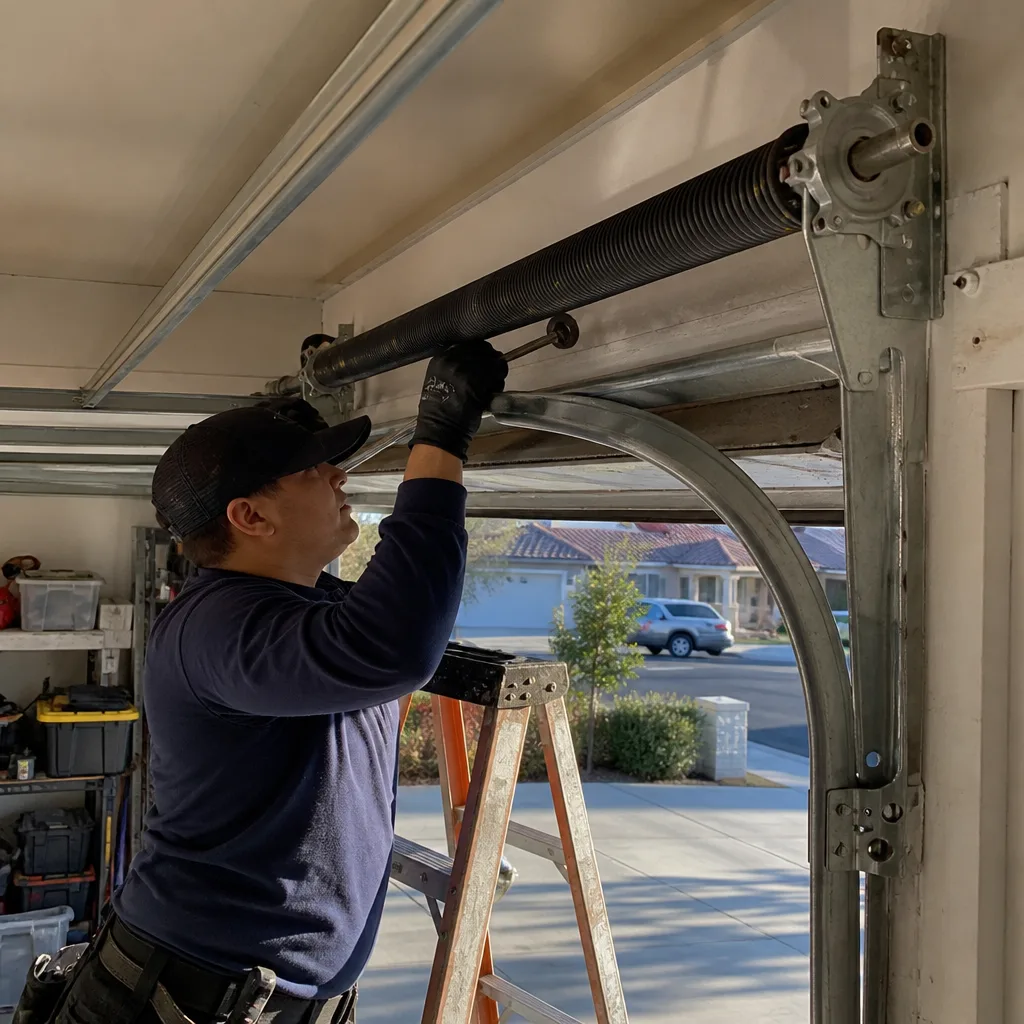
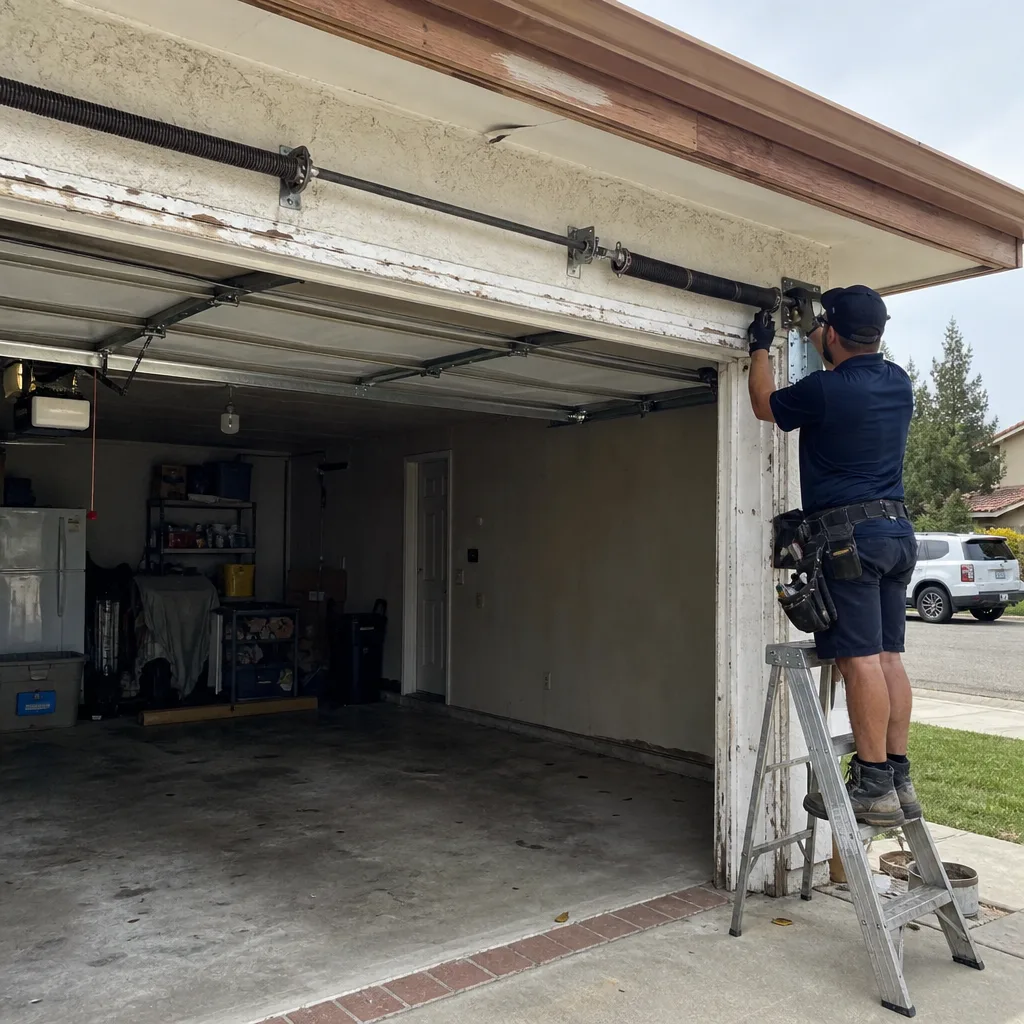
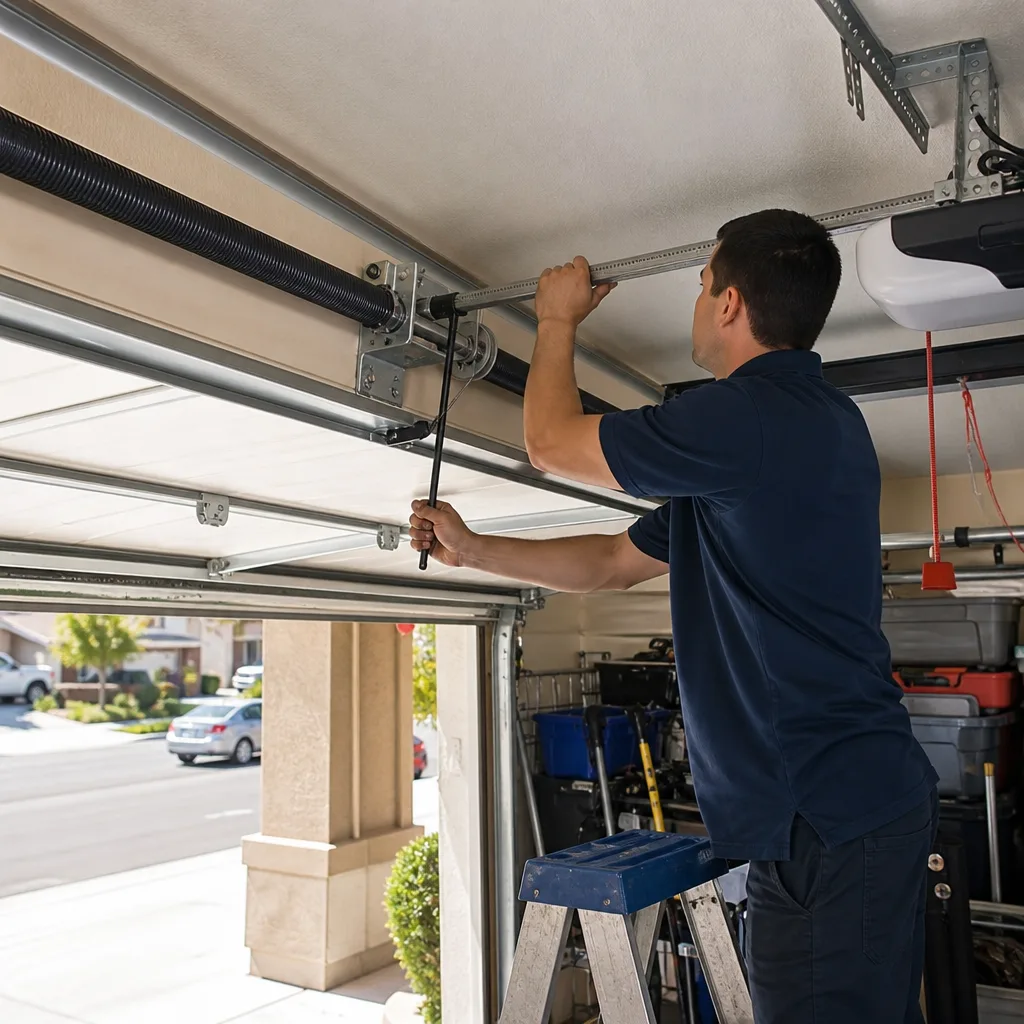
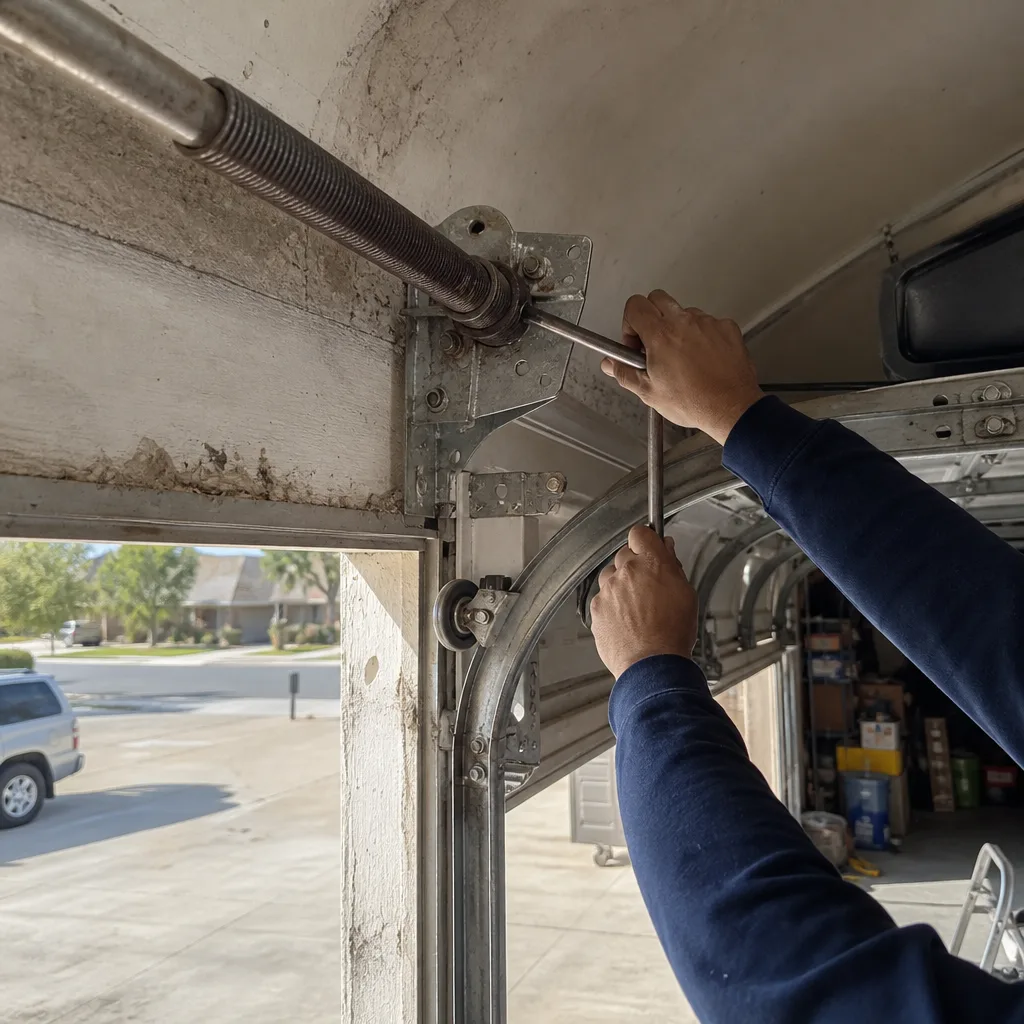
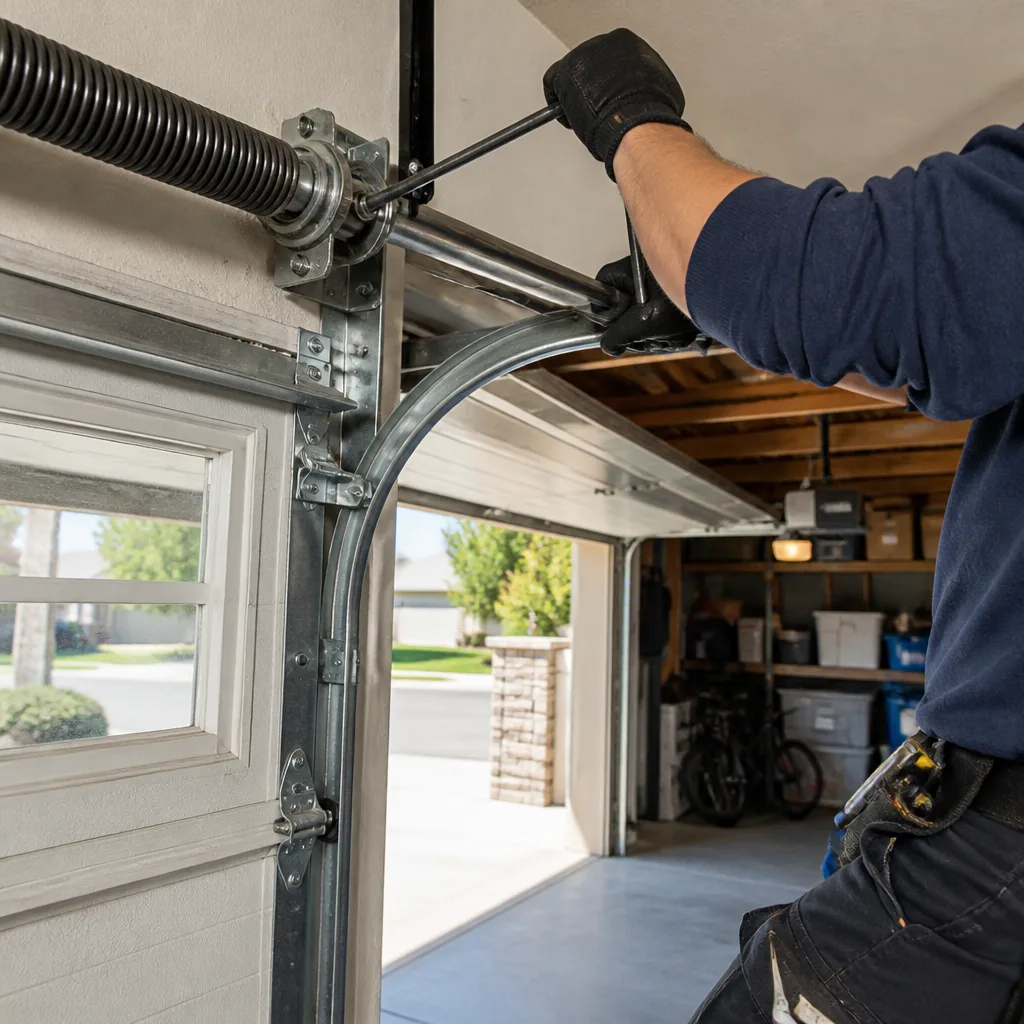
- Inspect the springs above the door. Look for a visible gap in the spring coil, which means it has snapped in two. If you see a gap, stop here and call a professional. Torsion springs store enough energy to cause serious injury, and replacing them requires special tools and a specific winding sequence.
- Inspect the cables on both sides. Cables should be tight against the drums at the top of the track, not frayed, and not hanging loose. A slack cable means the spring has failed or the cable has jumped the drum. This is another stop-and-call situation.
- Pull the manual-release cord and test the door by hand. Lift it to waist height and let go. It should stay put. If it falls or is heavy, the springs are the problem. If it’s balanced, the problem is in the opener.
- Inspect the photo eyes. Both eyes should have a lit LED. One is a sender, one is a receiver. Wipe dust off both lenses with a dry cloth. Murrieta dust is fine and clings to the lenses, and a blocked eye creates the classic “door won’t close” symptom.
- Check track alignment. Sight down both vertical and horizontal tracks. They should be straight and the gap between the track and its wall bracket should be consistent. Look for gaps where a bolt has pulled out of the wall.
- Inspect the rollers. Nylon rollers with stripped bearings, steel rollers with flat spots, or any roller that doesn’t spin when touched needs replacing. A seized roller drags the door and makes the opener work harder than it was designed to.
- Verify the opener’s force settings. On most LiftMaster, Chamberlain, and Genie openers, the force adjustment is a dial or a pair of buttons on the side of the opener head. If someone recently changed it, set it back to factory spec and test.
- Check for objects in the door’s path. A broom leaning against the wall inside the track, a garden hose lying across the threshold, a child’s bicycle wheel. You’d be surprised how often this is the entire problem.
This sequence takes under 10 minutes and rules out about 70% of the calls we would otherwise charge a diagnostic fee to evaluate. The remaining 30% are mechanical failures that genuinely require a technician.
The Three Misdiagnoses That Generate Unnecessary Service Calls
In our years working almost exclusively on garage doors, we’ve seen the same three bad diagnoses repeated by homeowners, handymen, and occasionally other companies. Each one replaces the wrong part and leaves the real failure to return.
Misdiagnosis #1: Replacing the opener when the spring is broken
The door won’t lift, the homeowner assumes the opener failed, and a new opener gets installed. The door still doesn’t work because the broken spring was always the problem. The opener motor was fine, it was just trying to lift a door that weighed twice what it should. The manual-release test would have caught this in 30 seconds. A new opener is $450 to $900; a spring replacement is $180 to $340.
Misdiagnosis #2: Resetting the travel limit to fix a reversing door
A door reverses after closing, so someone adjusts the travel limit and the door works briefly. The real cause was a worn travel module or a close-force issue inside the logic board. Resetting the limit masks the problem for a few weeks, then the module drifts again and the door reverses again. The owner now pays for a call to do what they already tried, plus the actual repair.
Misdiagnosis #3: Oiling the springs to fix a squealing door
A squeal means a dry roller bearing or a stripped gear, but the homeowner oils the springs. Torsion springs don’t need lubrication, and oiling them does nothing except make the floor slippery. The squeal continues because the roller is still dry, or the gear is still stripping, and the real repair is delayed until the noise becomes a full failure.
Avoiding these three mistakes means running the diagnostic test first: manual-release, visual inspection, noise identification. Then decide what part is actually broken. That’s the entire methodology this guide teaches, and it applies to every garage door, not just the ones we see in Murrieta. Explore more guides & resources for additional maintenance and repair help.
Opener Problem, Spring Problem, or Track Problem: How to Tell
The three systems inside a garage door system, the opener, the springs, and the tracks, fail in different ways and produce different signatures. Once you know the signature, the diagnosis is nearly automatic.
Opener failures
The opener is an electric motor with a drive mechanism, either chain, belt, or screw. When it fails, you’ll see one of these patterns: the motor hums but the door doesn’t move, the opener runs but the door moves slowly or erratically, or the opener’s error light blinks a code. The manual-release test with a balanced door that won’t open confirms the opener as the failed component. Common opener failures include the drive gear, the capacitor, the travel module, and the logic board.
Spring failures
Springs are mechanical, not electrical. When a spring breaks, you’ll hear a loud bang, like a firecracker inside the garage. The door becomes suddenly heavy, the opener strains, and the manual-release test shows a door that won’t stay up. Springs fail from fatigue, typically after 10,000 cycles, and they fail without warning. There’s no error code and no gradual decline: one cycle works, the next doesn’t.
Track failures
Tracks are passive steel channels that guide the door’s rollers. They fail from impact, like a car bumper hitting a vertical track, or from gradual loosening of the bolts that hold them to the wall. Track problems show up as a door that jerks, binds, or stalls at a specific point in its travel. The manual-release test usually shows a door that’s balanced but hangs up at one spot, a sure sign the problem is in the track, not the opener or the spring.
Each system fails independently, and a specialist who works on all three can isolate the failure quickly. That’s why Garage Door Repair in Murrieta focuses on the complete system, not just one component. A door that’s misdiagnosed as an opener failure when the track is bent means a new opener gets installed and the same binding problem remains.
Brand-Specific Quirks: Why a Wayne Dalton Door Acts Differently Than a Raynor
All garage doors are not the same machine, and the eight major brands we service each have mechanical personalities shaped by their design choices. Knowing the brand of the door you own narrows the diagnosis before we even look at it.
Wayne Dalton doors use a unique torque master spring system on many models, housed inside the tube above the door rather than exposed on a shaft like a traditional torsion spring. This design is quieter and safer, but it also means the spring can’t be visually inspected the way a standard torsion spring can. When a Wayne Dalton torque master fails, the symptom is often a door that becomes suddenly heavy with no visible broken spring. A generalist who doesn’t know the torque master design will misdiagnose it as an opener failure.
Raynor manufactures higher-cycle springs as standard on many models, rated for 25,000 to 30,000 cycles rather than the industry-standard 10,000. This means a Raynor door’s springs last longer, but when components around them age, like rollers and cables, the balanced spring load masks the additional drag. The door still raises but the opener runs hot, and the failure appears years later as a burned-out motor in what looks like an otherwise healthy door.
Craftsman openers, particularly the chain-drive models installed thousands of times in Murrieta homes, share a common failure point: the plastic drive gear. It’s a deliberate design choice that makes the gear a sacrificial part, protecting the motor from burning out when the door binds or the spring fails. The symptom is a grinding noise and a door that won’t move. The fix is a $200-$350 gear replacement, not a new opener, but we’ve seen homeowners quoted full replacements because the generalist didn’t know the part.
LiftMaster openers use a different diagnostic system than older brands, with a multi-function control panel that displays error codes rather than just a blinking light. A LiftMaster showing an “Up Arrow” and “Down Arrow” simultaneously usually indicates a force profile issue, meaning the door’s weight has changed since the opener was calibrated. That change is a spring losing tension, and the opener is reporting it. This is a case where the opener is actually the diagnostic tool, not the problem itself.
The point isn’t to memorize every brand’s quirks. It’s to recognize that brand matters in diagnosis, and a company that works on eight brands has seen the failure pattern before. When you call Garage Door Opener Repair in Murrieta, the first question we ask is what brand and model you own, because that answer alone narrows the diagnosis by half.
Opener Error Codes: Decoding the Blinking Lights
Modern openers diagnose themselves. A blinking light on the opener head or wall panel is a fault code, not a random flash. The number of blinks between pauses maps to a specific problem. Here are the most common codes on the openers we service most often.
LiftMaster and Chamberlain blink codes
- 1 blink: Safety sensor wire is shorted or the sensors are misaligned. Check for a staple piercing the wire or a loose connection at the opener head.
- 2 blinks: Short in the wall control wiring. The wall button or the wire running to it has a short circuit.
- 4 blinks: The safety sensors are misaligned or blocked. Clean the lenses and realign the beam.
- 5 blinks: Motor overload or RPM sensor failure. This usually follows a broken spring or a seized roller that forced the motor to work against excessive load.
- 6 blinks: The door is moving too slowly or the motor is drawing too much current. This is often the first sign of a spring losing tension, before it snaps entirely.
Genie blink codes
- Round LED, 1 blink: The wall console’s lock feature is engaged. Hold the lock button for two seconds to release it.
- Round LED, 2 blinks: The door is in vacation mode or the safety beam is blocked.
- Long LED, blinking: The opener’s force settings have been triggered and locked. This follows repeated reversals and indicates the door’s mechanical condition changed.
These codes are not proprietary secrets. They’re documented in the opener’s manual and available online. The problem is that a code tells you what the opener detected, not what caused it. Five blinks on a LiftMaster means the motor overloaded, but the overload happened because the spring snapped. The code points to the opener; the cause is the spring. That’s why we treat error codes as one data point in a full mechanical diagnosis, not as the diagnosis itself.
Seasonal Garage Door Problems in Murrieta
Murrieta’s climate creates specific failure patterns we see every year, and knowing the season helps diagnose the symptom.
Summer heat expands metal. Tracks that were marginally aligned in winter become tighter in August, and doors that worked fine through spring start binding and reversing. The expansion is tiny, a few thousandths of an inch, but it’s enough to create drag on a 300-pound door. The fix is usually a track alignment adjustment, not a new opener.
Santa Ana winds blow fine dust into every gap in a garage door system. The dust coats photo-eye lenses, fills roller bearings, and accelerates wear on the opener’s drive gear. A roller that was fine in September is grinding by November. The sequence is predictable: wind event, then two to three weeks later, a cluster of calls about doors that squeal, bind, or reverse.
Winter nights drop into the 40s, and cold metal contracts. Track-to-roller clearances open up, and a door that was quiet in summer starts rattling. It’s not a failure, it’s thermal expansion and contraction, but it reveals loose hardware that needs tightening regardless of season.
None of this seasonal behavior means the door is broken. It means the door’s clearances were marginal to begin with, and the temperature swung them over the line. The right fix is to correct the clearance, not to mask the symptom by changing the opener’s force settings.
Preventive Maintenance That Prevents Most Failures
About half the service calls we see in Murrieta involve failures that a basic maintenance routine would have caught months earlier. Not an intensive weekend project, just a quarterly check that takes 20 minutes.
- Lubricate the rollers quarterly. A few drops of lithium grease on each roller bearing, not on the track. This single step prevents the majority of squeals and seized rollers.
- Check the spring’s condition monthly. Look at the coils above the door. Surface rust is normal and doesn’t require action. A gap in the coil means the spring has snapped and needs professional replacement.
- Tighten all visible bolts twice a year. Track brackets, hinges, and opener mounts vibrate loose over time. A socket wrench and five minutes catches the loosening before it becomes a track that pulls off the wall.
- Test the auto-reverse feature monthly. Place a 2×4 on the ground under the door’s path and close the door. It should reverse within two seconds of contacting the wood. If it doesn’t, adjust the close-force setting or call a professional.
- Clean the photo-eye lenses every time you sweep the garage. Murrieta dust is fine enough to block the beam, and a blocked beam is the single most common reason for a door that won’t close.
This routine prevents the gradual failures: the bearing that seizes after a year of neglect, the bolt that finally pulls out of the wall, the photo eye that gets progressively more blocked until the door refuses to close one afternoon. When it comes to garage door maintenance, Murrieta Garage Door Service home is a resource for more detailed guides and the specific lubricants and torque specifications for each brand.
Safety: What a Homeowner Should and Should Not Touch
There’s a line in garage door repair that separates homeowner maintenance from professional work, and that line is drawn at energy storage. The torsion springs above the door store enough energy to kill a person or sever a limb if improperly released. We don’t say that for dramatic effect. We say it because every year, homeowners attempt DIY spring replacement and suffer life-changing injuries.
Do not touch: torsion springs, extension springs, cables, bottom brackets, anything attached to the spring system. These components are under tension even when the door is closed, and the force they store is invisible until it’s released incorrectly.
Safe for a homeowner: photo-eye cleaning, track visual inspection, bolt tightening on hinges and non-spring brackets, roller inspection, opener force-setting adjustments, wall-control battery replacement.
The manual-release test is safe: it disconnects the door from the opener, not from the springs. The springs remain loaded, and the door stays balanced. A balanced door that you lift by hand is not dangerous. A door that’s heavy because the spring snapped is a deadweight hazard, and attempting to force it open with a car or a pry bar can cause cables to whip and panels to fold.
When a spring breaks, the only safe response is to leave the door closed and call a professional. If you’re in Murrieta and need a spring replaced, the details are at Garage Door Repair in Murrieta, including what the job involves and the price range to expect before agreeing to the work.
Common Mistakes to Avoid
- Resetting the travel limit to fix a reversing door. The reversal is the symptom, not the cause. Resetting the limit masks the real problem, and the door will reverse again within weeks. Diagnose the cause first, then adjust settings.
- Replacing the opener when the spring is broken. The manual-release test is free and takes 30 seconds. If the door is heavy by hand, a new opener won’t fix it. This mistake costs homeowners $500 to $900 for a part they didn’t need.
- Lubricating the tracks. Tracks should be clean and dry. Grease on the tracks attracts dust, which builds up into a paste that creates drag and accelerates roller wear. Lubricate the roller bearings, not the track.
- Ignoring a noise until the door stops moving. A grinding noise is the drive gear stripping, and it’s a $200 repair today. Two weeks from now, the gear is fully stripped and the opener is dead. A squealing roller is a $30 part today. A seized roller can pull the track off the wall.
- Replacing one spring when there are two. Both torsion springs age at the same rate. When one snaps, the other is near the end of its cycle life too. Replacing both saves the second trip and costs less than two separate visits.
- DIY spring replacement after watching a video. The video doesn’t show the hospital trip that happens when the winding bar slips. The special tools cost $50. The emergency room costs $50,000. Call a professional.
When to Call a Professional
Call when the spring is broken, when a cable is frayed or loose, when the door is heavy by hand, when the opener’s error code points to a motor failure, or when a track is visibly bent or pulled from the wall. These are not adjustment issues. They’re mechanical failures that require the right tools, the right parts, and in the case of springs and cables, a trained hand that knows the safe winding sequence. Murrieta Garage Door Service offers free estimates in Murrieta, and we deliver the exact price before any work begins. If the door is stuck, a spring has snapped, or the opener has died, call (866) 798-2664 and we’ll get it diagnosed.
Frequently Asked Questions
Garage door repair in Murrieta typically costs between $125 and $450 depending on the failed component, with spring replacement at $180 to $340 and opener gear replacement at $200 to $350. The price is quoted and agreed upon before any work starts. Call (866) 798-2664 for a free estimate based on your specific door and symptom.
Yes, in most cases we can schedule same-day repair for broken springs, failed openers, and doors that won’t open or close. The diagnostic step is fast because we carry parts for eight major brands on the truck, which means one visit usually resolves the issue.
No. We diagnose the failure, explain the required repair, and give you a firm price before any work begins. If we discover an additional issue during the repair, we stop and discuss it with you before proceeding. Call (866) 798-2664 and we’ll walk through what to expect.
Yes, our trucks are stocked for the eight brands we service, including LiftMaster, Chamberlain, Genie, and Craftsman openers, and springs, cables, rollers, and track hardware for most residential doors. Most repairs are completed in a single visit.
No. A grinding noise from the opener head means the drive gear is stripping, and the failure is progressive. Waiting a few weeks turns a gear replacement into a full opener replacement. The same applies to a squealing roller, which can seize and damage the track. Call (866) 798-2664 and we’ll diagnose it before it fails completely.
Possibly. Wayne Dalton’s torque master spring system is inside the tube above the door, so the break isn’t visible from the outside. A door that’s suddenly heavy, hard to lift by hand, or won’t stay up is likely a spring failure regardless of brand, but the torque master design requires a specialist who knows that system to confirm it. Call (866) 798-2664 for a proper diagnosis.
The Bottom Line
Garage door troubleshooting is a process of tracing a symptom to its mechanical cause, and the manual-release test is the first step every time. A door that’s heavy by hand points to springs or cables. A door that’s balanced by hand points to the opener or tracks. Every noise maps to a specific component, every error code describes what the opener detected, not what caused the detection, and the same symptom can have completely different causes depending on the time of day, the season, and the brand of door you own. Treating the symptom without finding the cause is how homeowners end up paying for the same repair twice. Find the cause first, and the fix is usually straightforward.
Written by the team at Murrieta Garage Door Service, serving Murrieta since 2014.
See the difference
 Before
 After
 Before
 After
 Before
 After